Unlocking Speed in UI Design
7 Irresistible Reasons Why Every UX/UI Designer Should Master Auto Layout in Figma

If you are working as a UX/UI designer, you might already know Figma as UI design software. Many new features are being added to Figma as it expands and evolves. As a designer, I genuinely admire how Figma is at the top of its game and releasing features that we designers didn’t know we needed. 🚀

Figma had an auto-layout option at the beginning of 2019, but it was most recently upgraded in 2022. 🚀
As with every new feature, I had experimented with Auto layout a little but quickly became overwhelmed by my backlog of work. So I recently made Auto layout a part of my design process. 🫠
A component design that is simpler for a developer to understand from the point of view of development Figma’s new Dev Mode and Auto Layouts both successfully assist you in doing that. 😀

Figma Dev Mode Toggle on, right next to the Share button
Without further ado, let’s dive deep into some of the advantages of designing the components with the help of Auto Layout versus not designing them in Auto Layout.
How to add Auto layout to your layer or set of layers:
Select the shape, text, object, or layer you want to apply Auto layout to by clicking on it.
Press Shift A, and your selected object gets converted into an Auto layout frame
Alternatively, you can also click on the Plus icon in the Auto Layout Section in your Design Panel on the right when you select more than one object to apply Auto layout to.

Once the objects are selected Auto layout section appears in the Design Panel
Advantages of Auto Layout:
1. Responsive Layouts:
I used to use the “Constraints” feature in Figma, which allowed me to set a UI component, let’s say a button, that can be resized without losing the alignment of its sub-elements like text or an icon in the button. This was, in turn, useful in responsive layouts. But now, with auto-layouts, this responsiveness of the elements can be done at a greater speed. E.g., a button designed for auto-layouts.
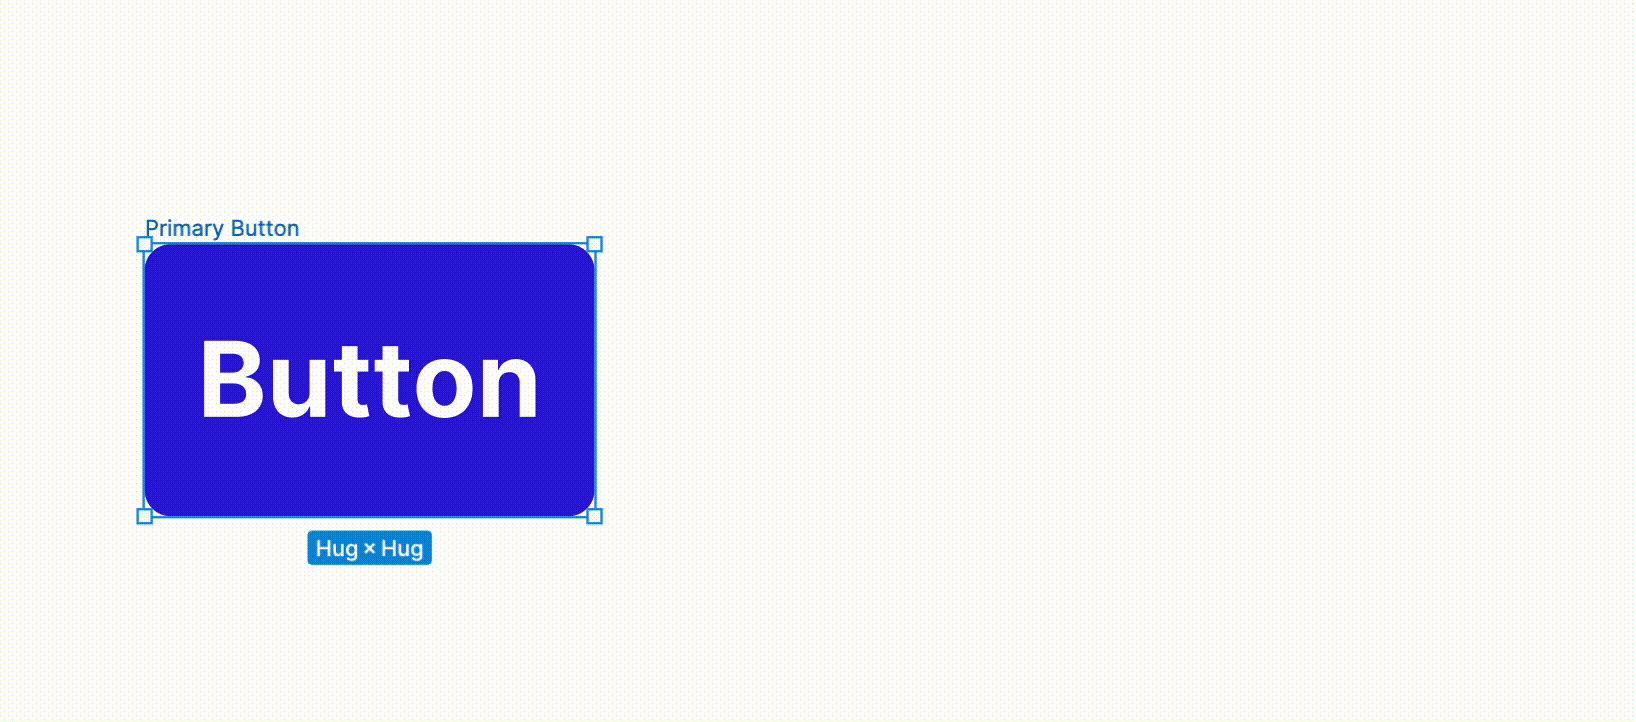
Button Component
2. Development Friendly:
A UI component built with the help of Auto layout is easier to inspect with the Dev Mode in Figma and guides the frontend developer to get the appropriate structure of the component.

This is how UI component built with Auto Layout looks in the Dev Mode

This is how UI component built without Auto Layout looks in the Dev Mode
3. Available in Vertical, Horizontal, and Wrap Layout Formats
Stacking is one of the crucial aspects of Auto layouts. Stacking of sub-elements of a UI component can be done in a vertical, horizontal, and now also wrap fashion, which is very advantageous when you want to make changes to any sub-element or delete it altogether.
For instance, the below gif illustrates how to stack vertically, horizontally, and in a wrap layout style.
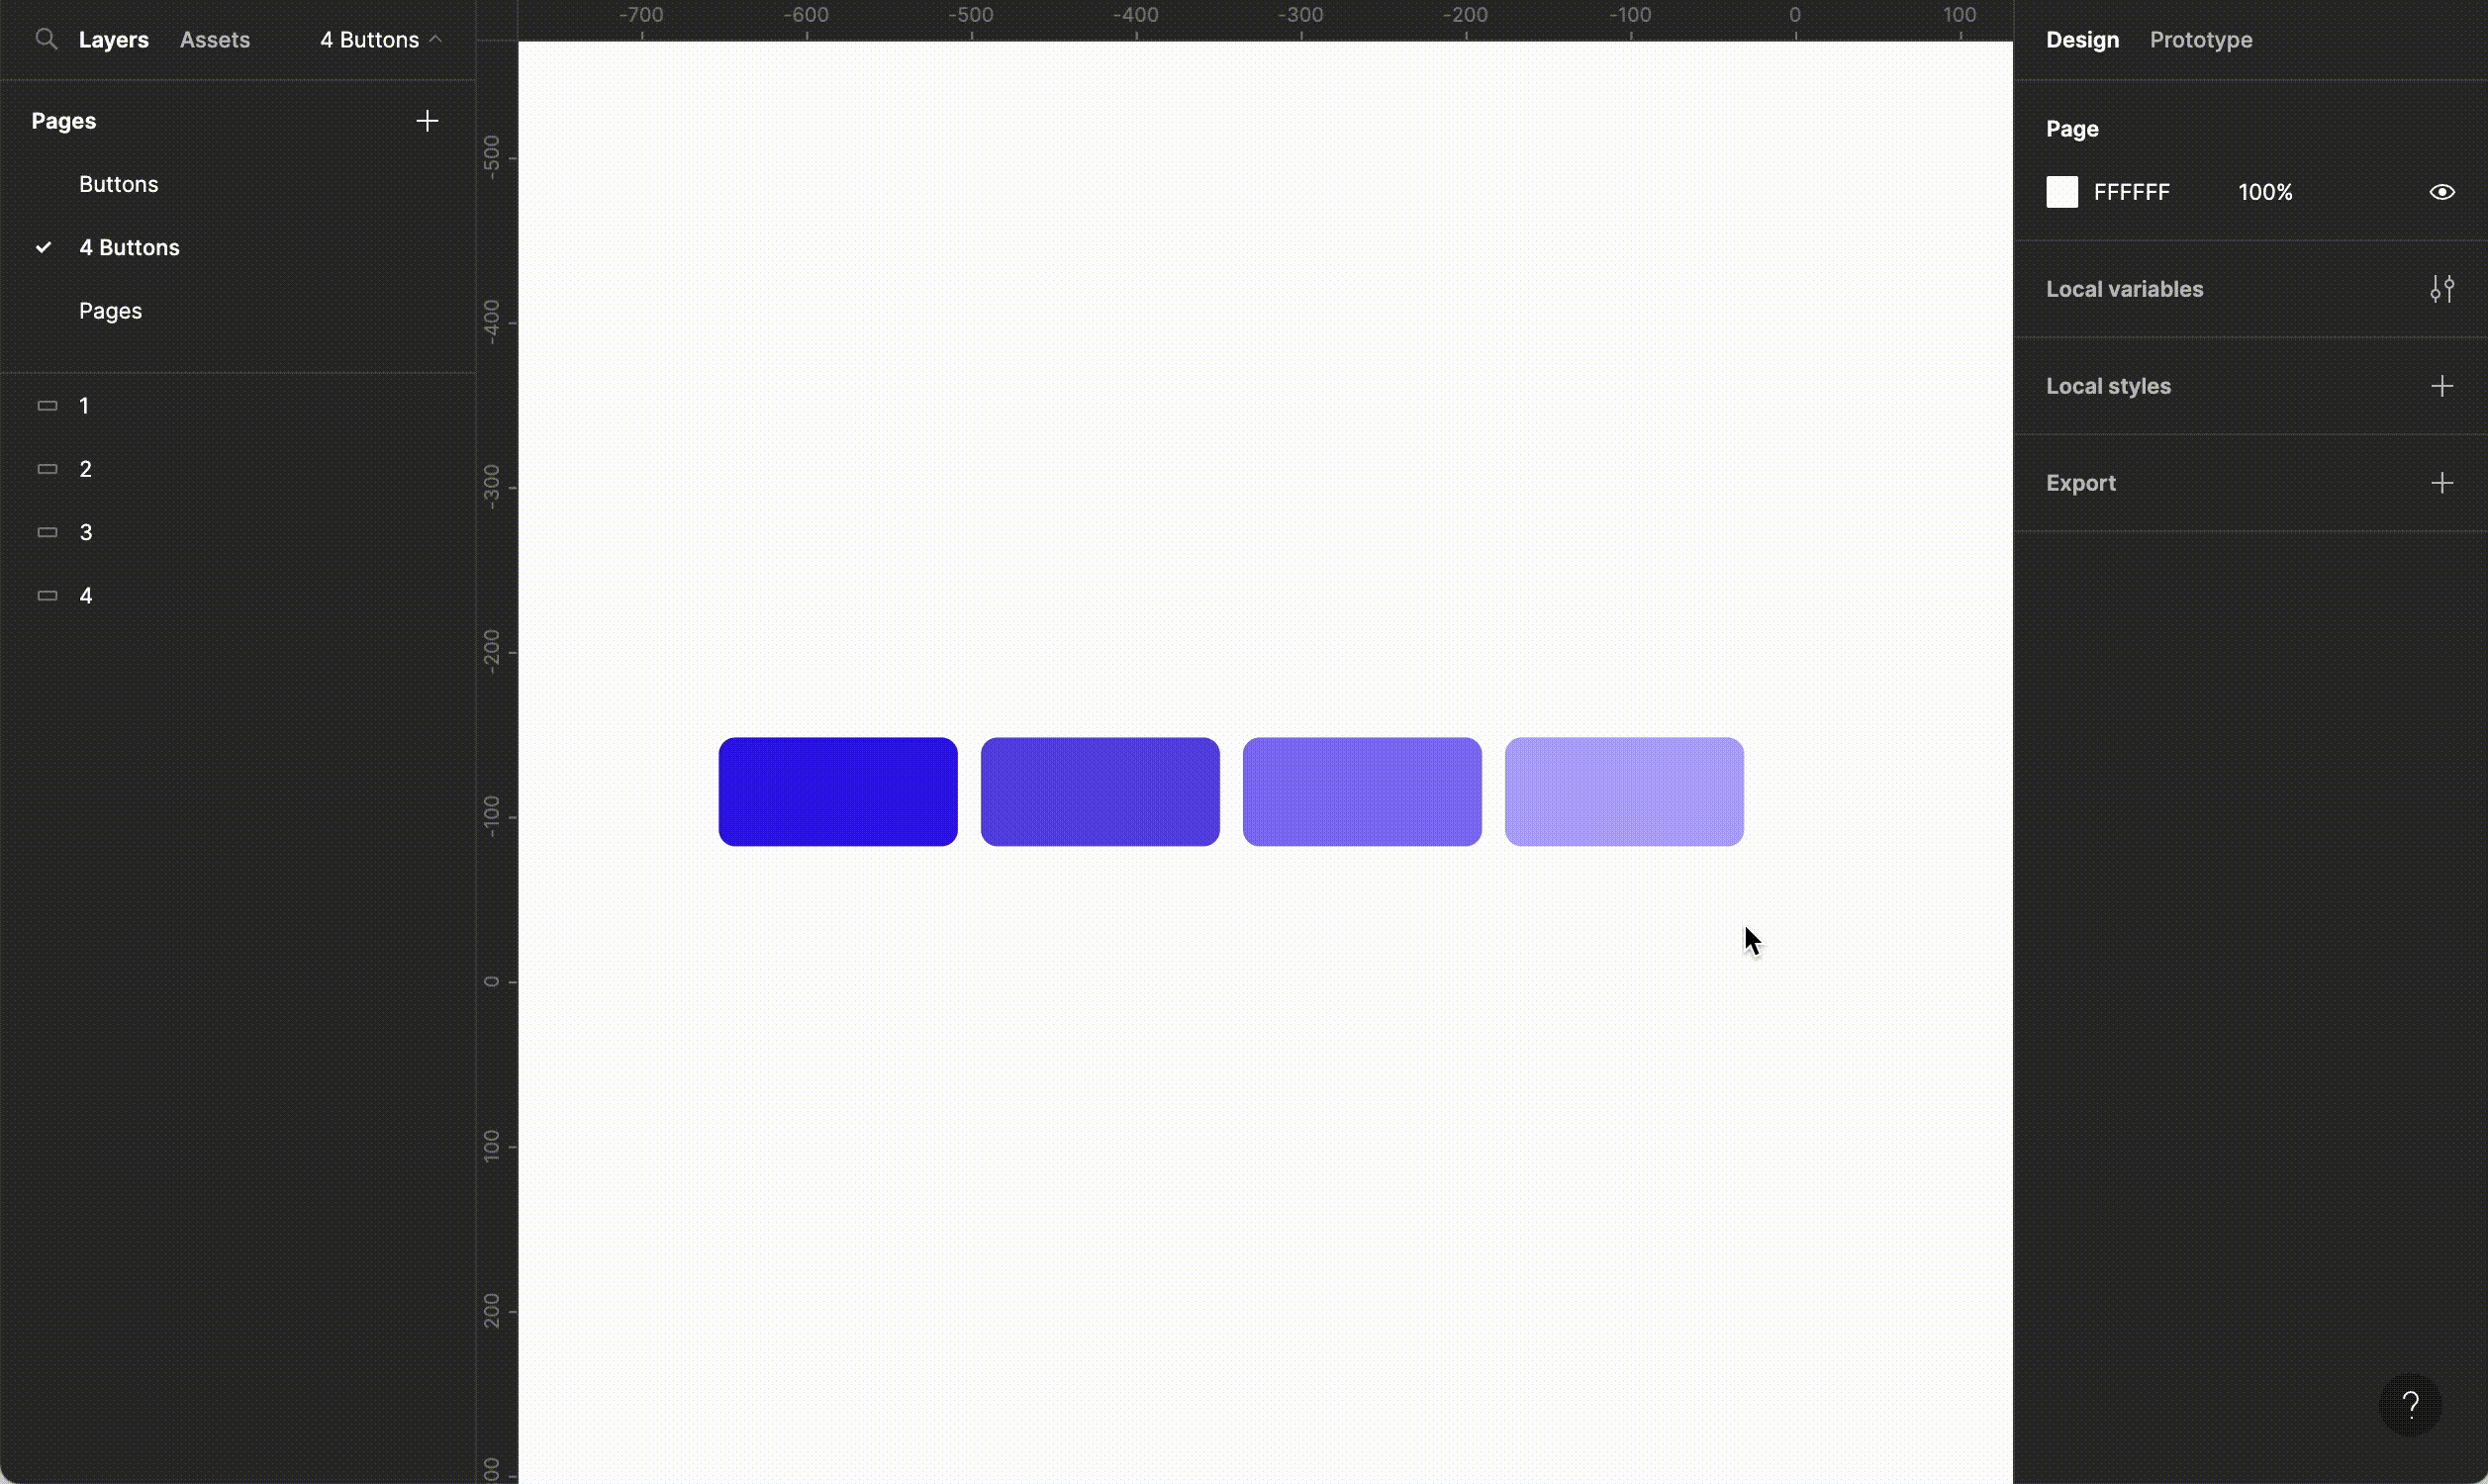
Vertical, Horizontal and Wrap Layout Style
4. Customise Padding — Left, Right, Top, and Bottom
Creating a component with the help of Auto layouts is the best way to construct a component in terms of UI design as well as development.
A well-constructed UI component will be easy to inspect in Figma Dev mode. Look at the example below: The button constructed with Auto layout looks like the below gif in Figma Dev mode.
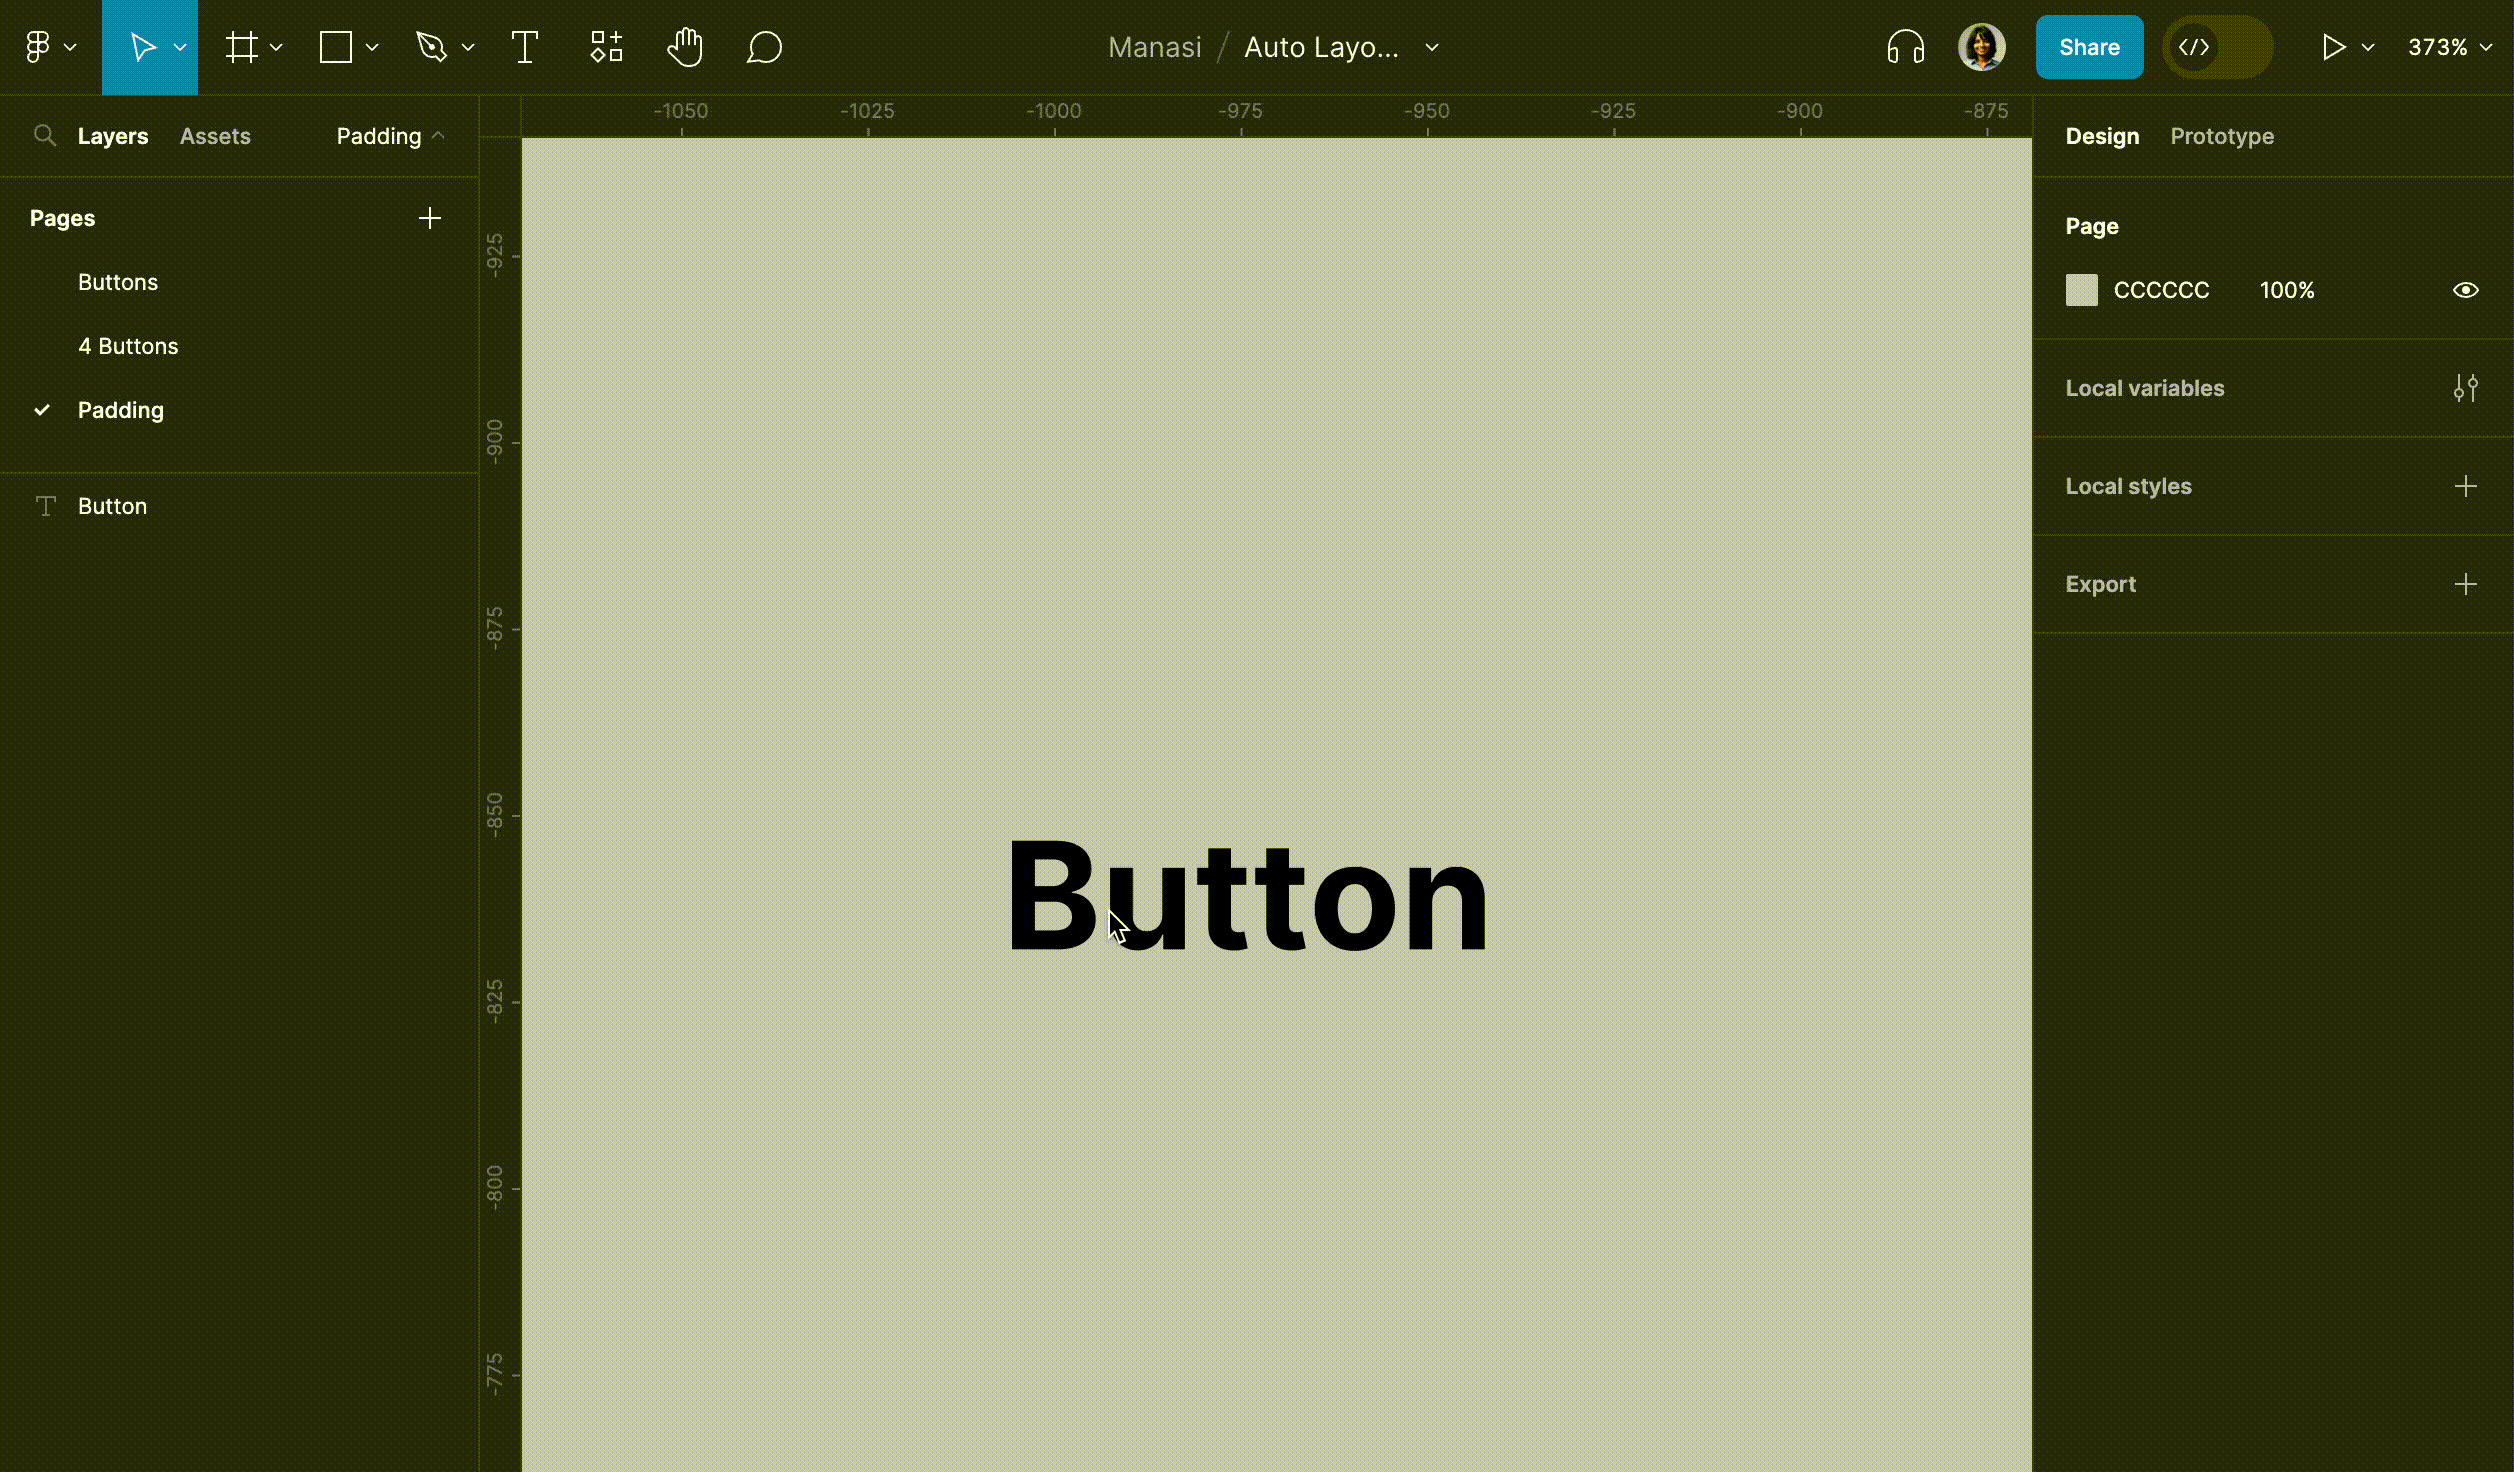
UI component — Button is constructed with Auto layout
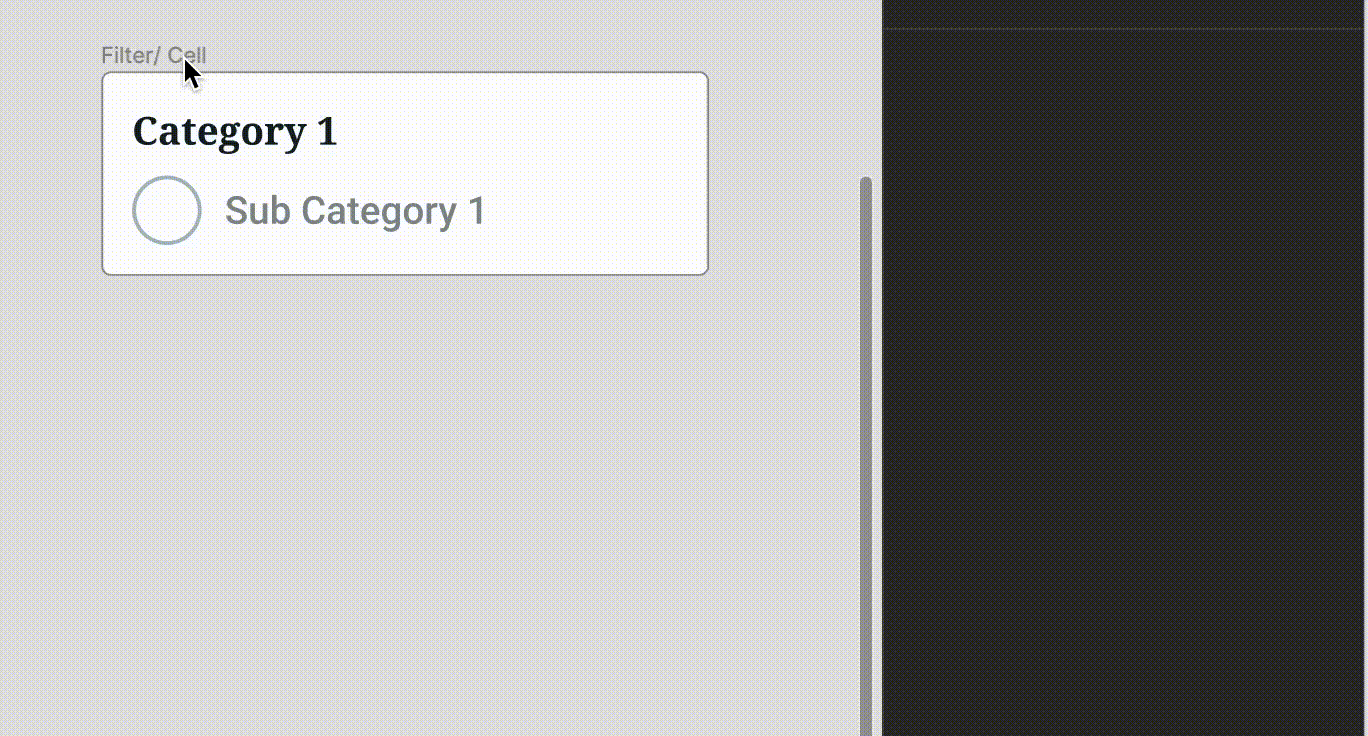
5. Flexibility to Create Nested Auto Layouts
You can have components built in Auto layouts within components that have auto layout applied to it. This helps when building complex components such as a list of filters. For example: The filter component is nested with categories of filters and their sub categories.

Categories of layouts

Nested Auto layout categories in Auto layout filters’ panel
6. Easy to Alter Layouts
Auto layout helps you easily add or remove a new component from the set of components without having to manually alter the layout of your components or make any adjustments. Auto layout takes care of it all.
For example, you can easily add more nested Auto layout frames to the parent frame, or you can easily delete one that you do not want, and the height or width of the component, depending on the orientation (vertical or horizontal), takes care of itself. This saves so much time when you want to alter your layouts quickly.

Deleting children elements from the parent Auto layout
Adding nested elements in the parent Auto layout
7. Available in the Starter (Free) Figma Plan
If you want to play around with this feature in Figma, you can easily try that by signing up for the free plan of Figma and starting to explore it today.
Make it a habit to develop your UI components using Auto layouts if you already use Figma.
I’m hoping this post has influenced your opinion of Auto layouts. You might be able to become used to using Auto layouts to create all of your layouts with a little practise.
Please share your thoughts about this article in the comments section. Your feedback inspires me to keep going! ❤️
